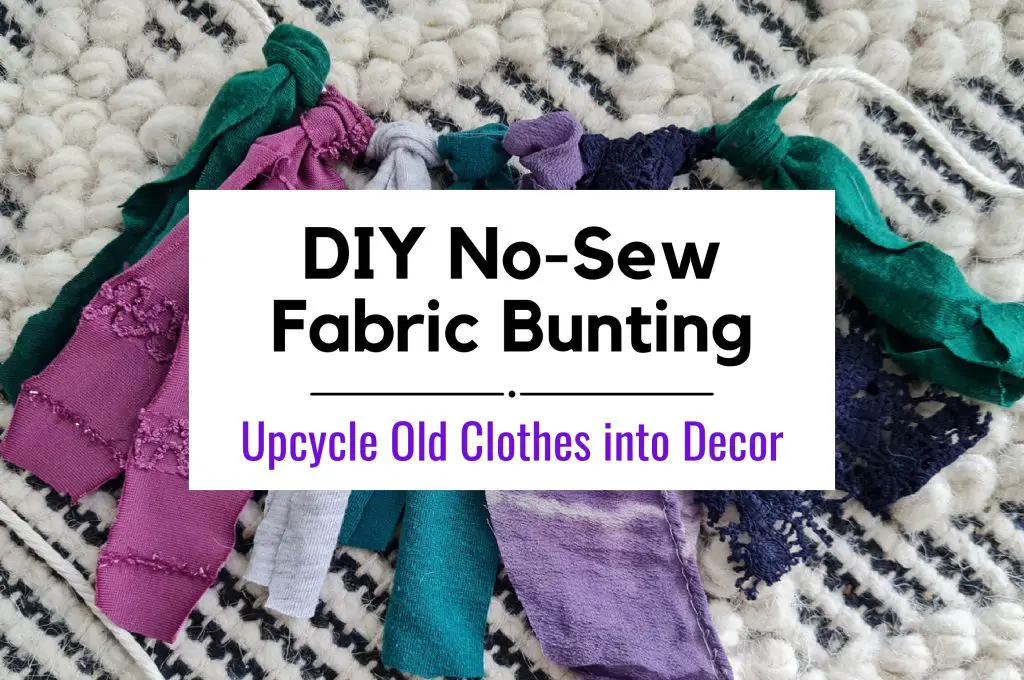
Looking for an easy, no-sew way to use up fabric scraps and old clothes? This DIY fabric scrap bunting is one of the simplest upcycling projects you can make — and it requires zero sewing skills, special tools, or craft experience.
Using fabric from worn-out clothing, sheets, scarves, or offcuts you already have at home, you can create a soft, reusable bunting that works beautifully for birthdays, holidays, kids’ rooms, or everyday home decor. All you need is a length of cord or twine, a pair of scissors, and a little creativity.
This project is perfect if you’re embracing zero waste, frugal living, or slow decorating — and it’s completely customisable in colour, size, and style.
Whether you prefer a rustic, boho look or something bright and playful, fabric scrap bunting is an easy way to turn “waste” into something practical and decorative.
Let’s get started.
💡 This post may contain affiliate links (including eBay and Amazon Associates). If you buy through them, I may earn a small commission at no extra cost to you. I only recommend things I trust.
How to Make a Fabric Scrap Bunting
Supplies
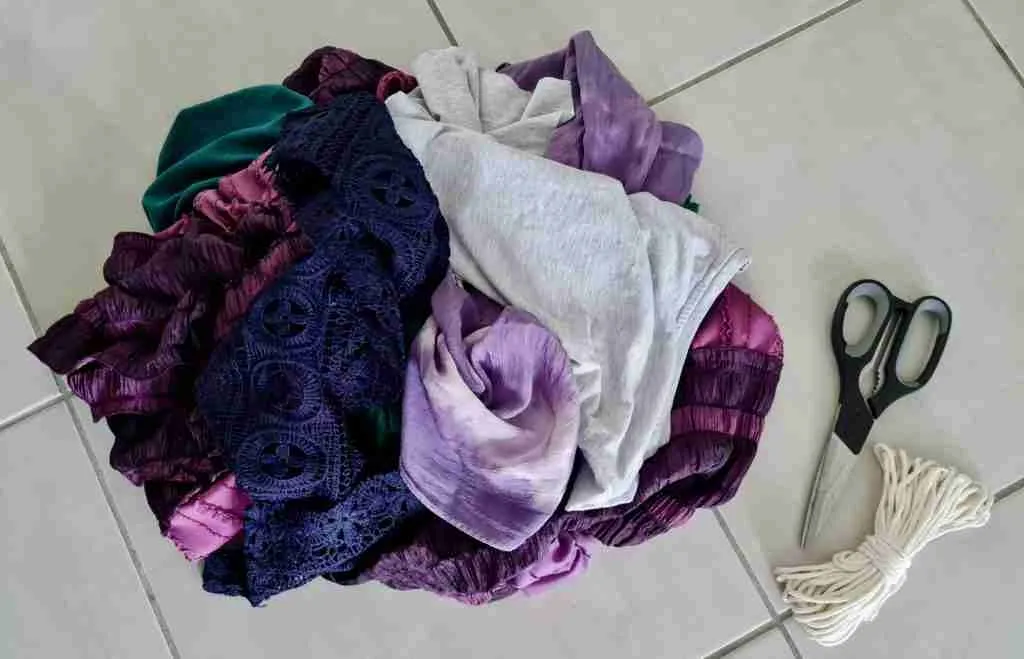
To make your fabric scrap bunting, you’re going to need some fabric that you can cut up into strips. Think of old clothing, tablecloths, scarves, sheets, and so on.
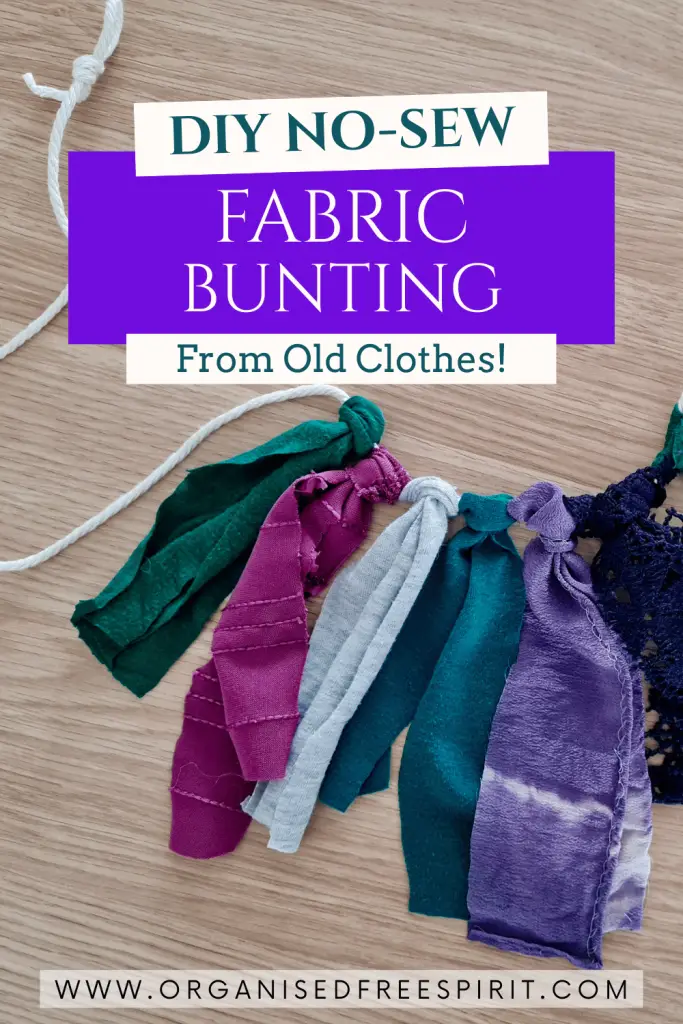
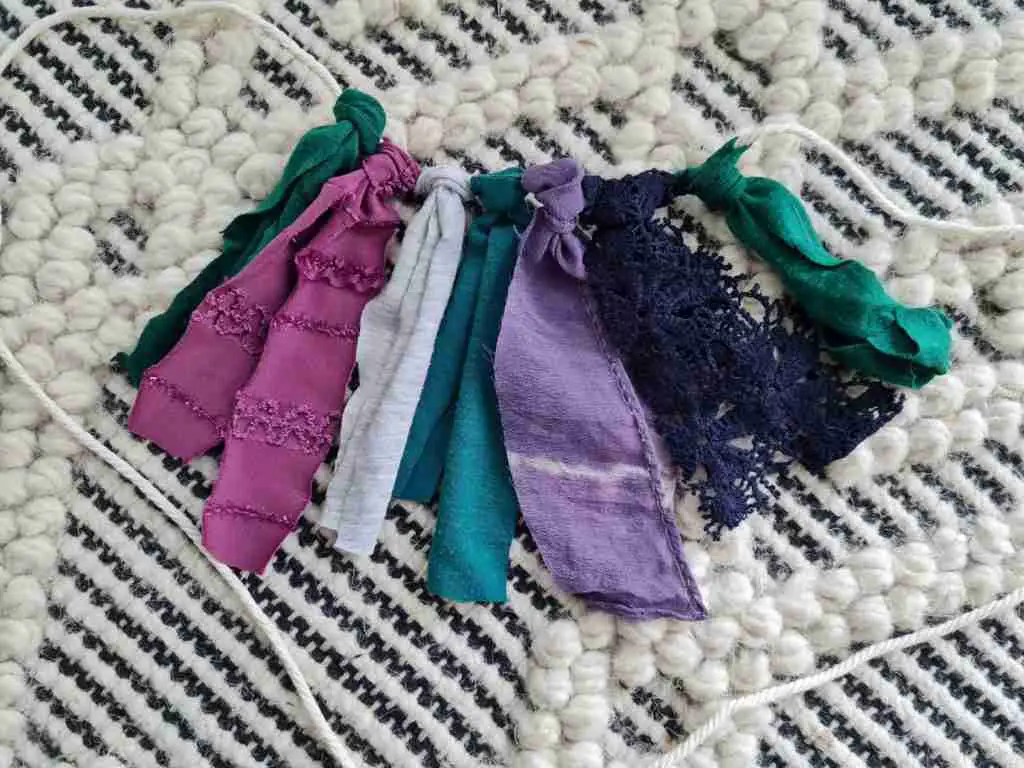
I rustled up a t-shirt that my daughter had outgrown, an old, holey silk scarf, an Op Shop skirt that I’d never worn, plus some lace offcuts, which I had.
Along with the fabric, you’ll need something to knot the fabric pieces onto. Rope, cord, ribbon or whatever you’ve got lying around will do. I couldn’t find anything appropriate, so I bought a 12m length of macrame cord for $5, which will come in handy for future projects.
Don’t forget some scissors to cut the fabric strips.
Fabric Bunting Supplies:
- Scrap fabric
- Length of cord, ribbon, or rope
- Scissors
STEP 1: Cut a template
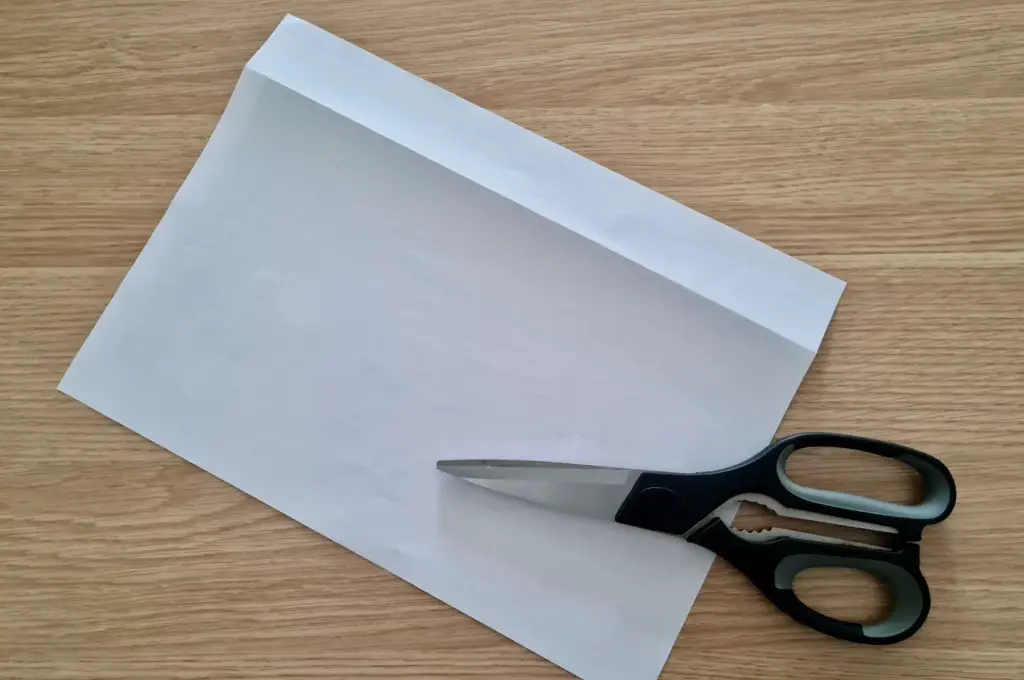
The first step for getting your fabric strips fairly similar in size is to cut out a paper template.
The size of your strips is entirely up to you, but to give you an idea, I cut a small strip off the side of a piece of A4 paper (as shown above) to use as my template.
Remember, the fabric strips are not going to be perfect, and they’re not meant to be. This is just to help give you a guide for the sizing as you’re cutting.
STEP 2: Cut your cord length

The next step in your fabric scrap bunting is to cut your cord length to however long you want to have it.
If you want it to hang between two particular points, measure it out, including how far down you want it to droop. Don’t forget to allow for a loop at each end to be able to attach or hang the bunting.
My cord length was about 1.3 metres (51 inches) long.
Once you’ve cut your cord, tie a loop in each end so that you can hang up your masterpiece as soon as it’s finished!
STEP 3: Cut the fabric strips
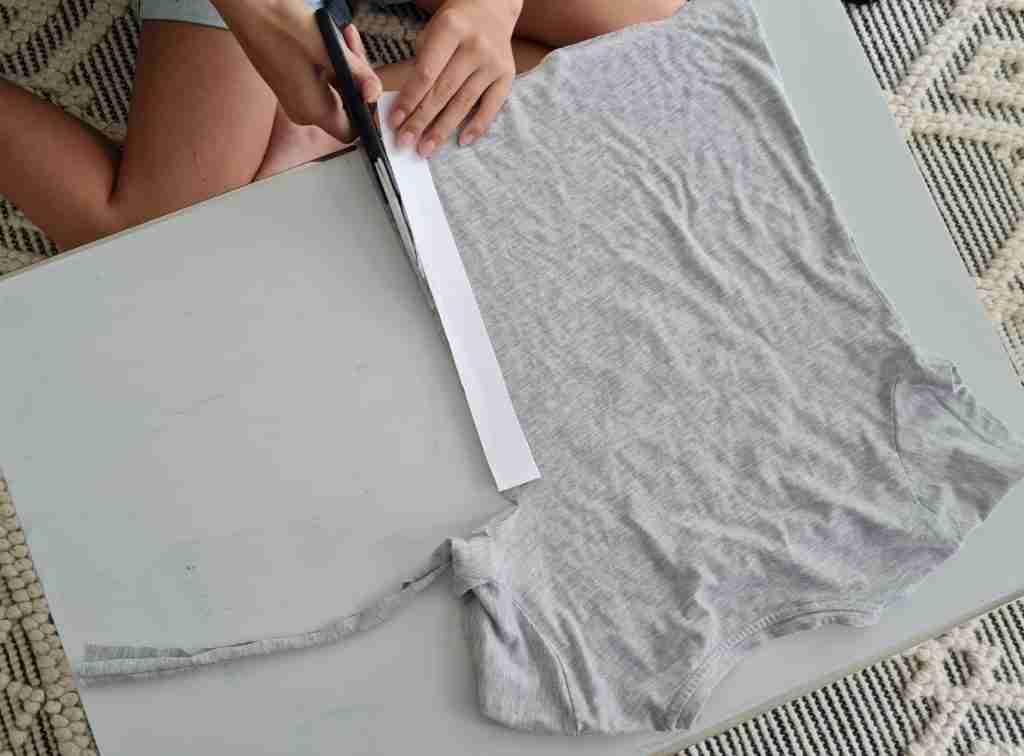
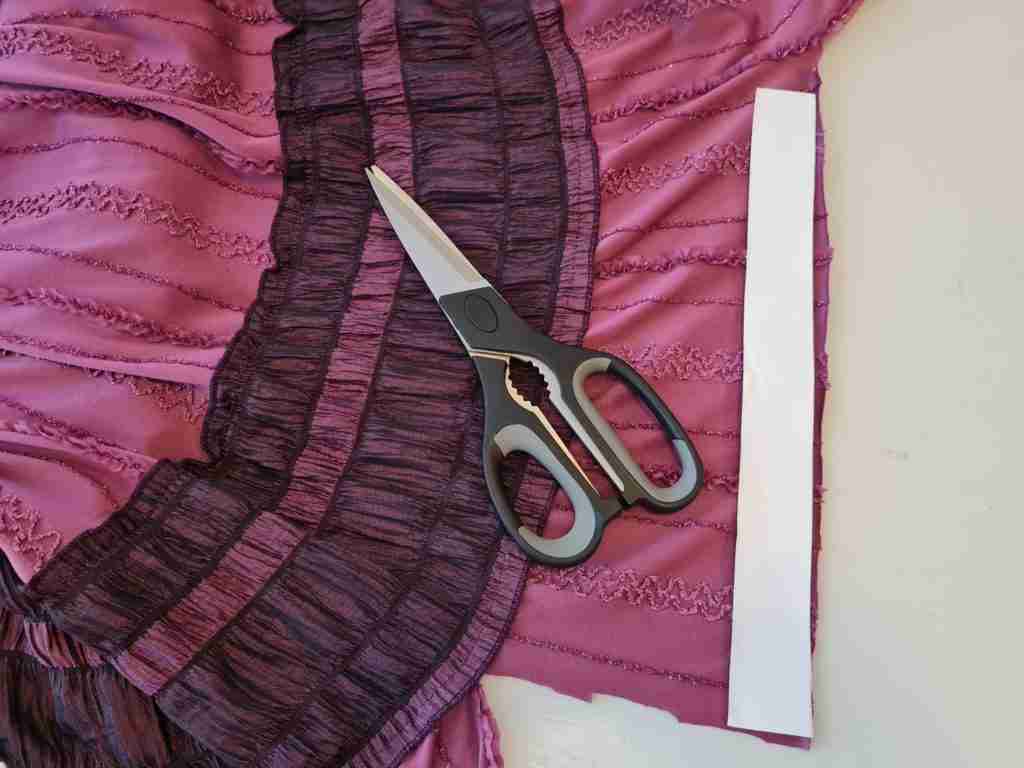
Now you can use your paper template to start cutting up the strips of fabric that you’ve chosen.
Place the template on top of the fabric and loosely cut out the shape.
Remember, this bunting has nothing to do with perfection and everything to do with rustic! Don’t worry about jagged edges and odd shapes; they’ll go completely unnoticed once it’s all put together. Anyways, the imperfections all add to the charm.
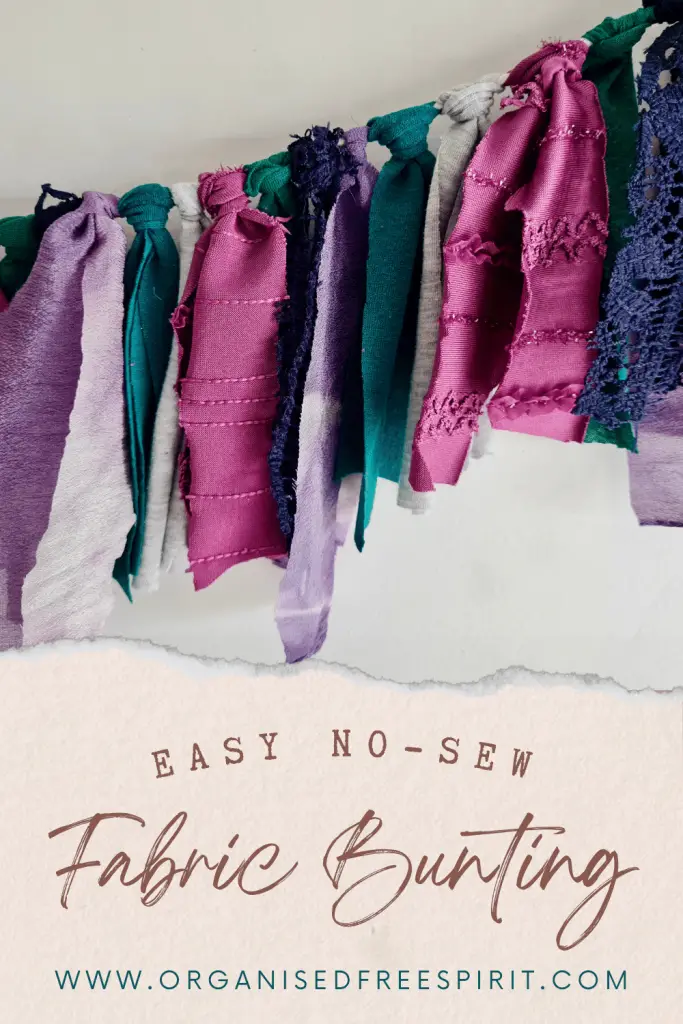
The bunting pictured in this post has 6 different fabric variations, using 12 strips of each different fabric – that’s for a 1.3 metre length cord.
How long you want to make your bunting will determine how many strips of fabric you’ll need. Once you get going, you’ll soon figure out if you need to cut more as you go.
STEP 4: Arrange your pattern

Once you’ve got a pile of strips cut for each piece of fabric that you want to use, it’s time to arrange them in the order that you like.
Play around to get a nice combination of colours, without having anything clash with its neighbour.
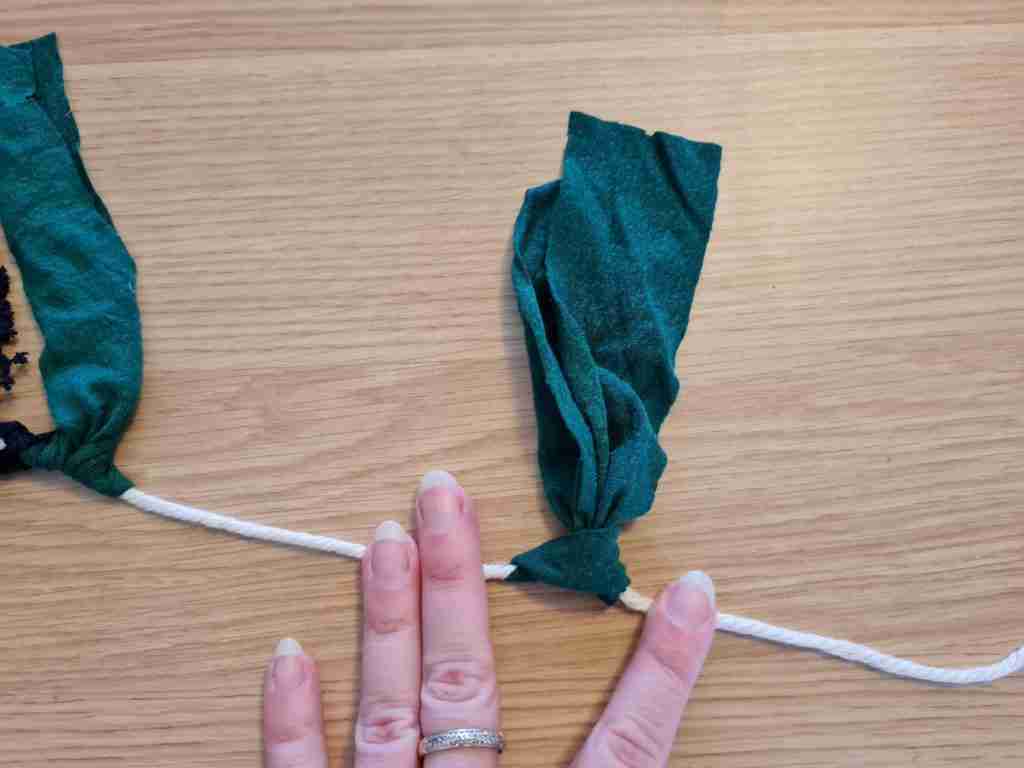
STEP 5: Knot the fabric strips onto the cord

To knot the fabric strips onto the cord, you need to…
- Fold a fabric strip in half and lay it underneath the cord
- Pull the two ‘tails’ over the cord and push them through the hole at the top of the fabric
- Pull on the ‘tails’ to tighten the knot
- As you’re tightening the knot, hold the cord out straight to stop it from bunching up (pic below)
Then move on to the next piece of fabric in your line-up of colours and continue until your cord is almost full.
After you add each new strip of fabric, simply slide it along the cord to butt it up against the previous piece.
Alternatively, you might like to leave a little gap between each fabric and space them out.
Some people also like to leave a gap of cord at each end, while others prefer to take the fabric scraps right up to the loops.
Whichever way you like, there is no right or wrong here.
And that’s it, now you’re ready to hang your bunting!
How you hang your bunting is totally up to you. Mine isn’t too heavy and is hanging easily with a thumb tack through each loop. You could also hang it on hooks.


Uses for Fabric Scrap Buntings
The number of uses for fabric scrap buntings is only as limited as your imagination.
You can tailor the patterns and colours to suit certain occasions and holidays (such as a Baby Shower or Christmas party).
Maybe you want to spruce up the kids’ bedroom or cubby with a bunting or two without having to spend much money.
Fabric buntings also make great gifts, especially for those who appreciate handmade items.
Here are some ideas for where to use fabric buntings:
- Baby showers
- Holiday decorations (e.g. Christmas & Easter)
- Graduation party
- Birthdays
- Spruce up the living room or bedroom
- Kids rooms and cubbies
- Outdoor living areas
- GREAT Handmade gift idea!
More DIY & Handmade
Pin It